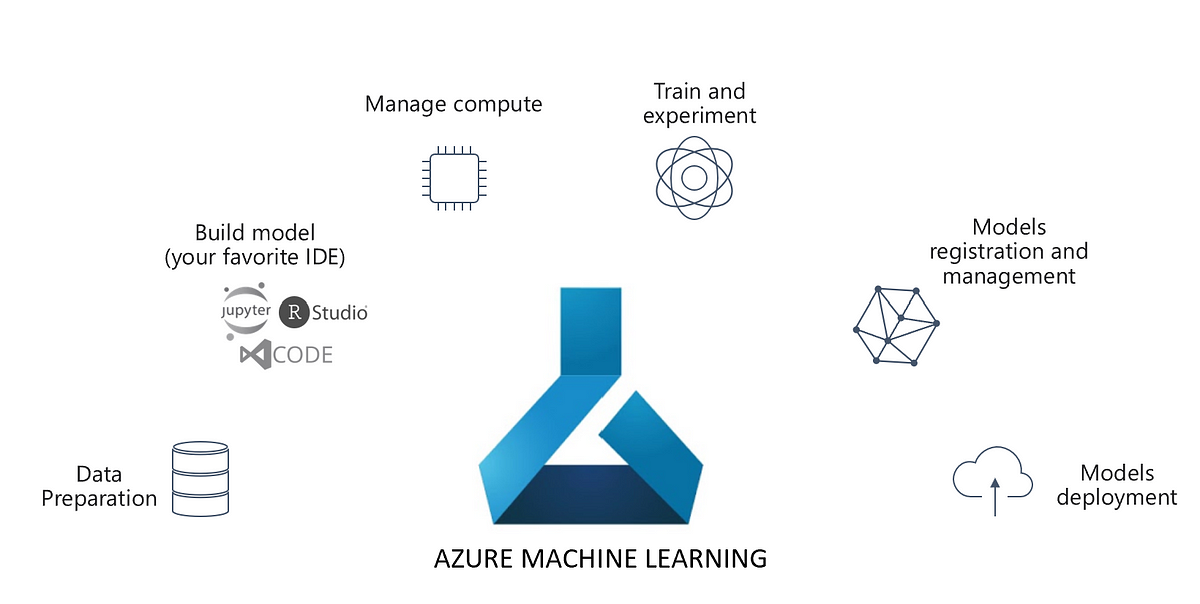
In one of our previous articles, we introduced Managed Online Endpoints in Azure Machine Learning. We deployed that endpoint on a public Azure Machine Learning. However, in an enterprise setting, the Azure Machine Learning resources will be behind a secure network i.e. all the associated resources of AML viz. Storage Account, Container Registry, Key-Vault and Application Insights will be behind a virtual network. An Azure virtual network is a fundamental building block of a private network in azure. It enables Azure resources to communicate securely. To know more about a secure Azure ML, read the Microsoft Documentation on how to Create a secure workspace.
Besides, while deploying a machine learning model to a managed online endpoint, you can secure communication with the online endpoint by using private endpoints (a secure network interface). The below diagram from Microsoft depicts this beautifully:
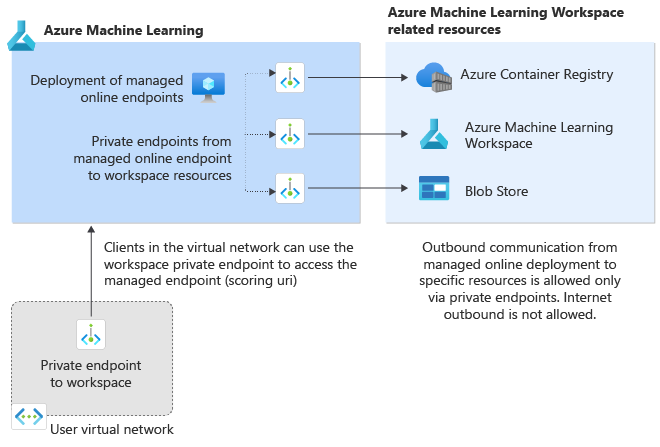
In this setup, a private endpoint is created to the Azure ML workspace from the host/user Virtual Network. Furthermore, a private endpoint is created from the Managed Online Endpoint Deployment to each of the ML Workspace resources.
Nevertheless, how to create and deploy a managed online endpoint in a secure Machine Learning workspace? The following are the pre-requisites:
- A secure ML workspace with Private Endpoints.
- A host machine that connects to the workspace
- Azure CLI (v2) is installed in the host machine.
Read this document to create the above pre-requisite setup: Network isolation of managed online endpoints.
Now, creating and deploying Managed Online Endpoints with Network Isolation is pretty similar to doing it in public AML, with a few nuances. Here are the broad steps:
Step 1: Install Azure CLI ml extension
Apart from Azure CLI(v2), you need to install the new ‘ml’ extension. It enables you to train and deploy models from the command line, with features that speed up data science while tracking the model lifecycle. Follow this document for step-by-step instructions. Once the extension is added, open the command prompt and run az -v. Make sure that the ml extension version is the latest (2.2.3 as of now).
Step 2: Create the Online Endpoint Configuration (YAML).
There are two steps for creating a Managed Online Endpoint:
- Create an Endpoint
- Create the Deployment
The following YAML structure creates the endpoint. Please note the last line i.e. public_network_access. Setting this value to disabled ensures that the Online Endpoint is not accessible through the public internet.
$schema: https://azuremlschemas.azureedge.net/latest/managedOnlineEndpoint.schema.json
name: california-housing-service
auth_mode: key
public_network_access: disabled
Step 3: Create the Online Deployment Configuration (YAML).
The next step is creating the Deployment. Below is an example of the Deployment YAML Schema. Note the egress_public_network_access. Setting this to disabled creates a Private Endpoint from the Managed Online Endpoint to the workspace resources.
$schema: https://azuremlschemas.azureedge.net/latest/managedOnlineDeployment.schema.json
name: default
endpoint_name: california-housing-service
egress_public_network_access: disabled
model: azureml:california-housing-prices:1
code_configuration:
  code: ./
  scoring_script: score.py
environment: azureml:california-housing-env:1
instance_type: Standard_F2s_v2
instance_count: 1
Next steps
Having said that, all the next steps, i.e. Scoring Script, Environment creation, Endpoint and Deployment creation remain the same. We strongly recommend you to follow steps 3 to 7 in our first article on Managed Online Endpoints in Azure Machine Learning. Lastly, we hope this article may help you take the next steps toward a secure Inferencing environment in Azure Machine Learning.
Note: Using a private endpoint with online endpoints is currently a preview feature.