Prologue
A software product goes through three broad phases viz. development, testing and deployment. The last phase can be approached in multiple ways. One of the ways is through the shell scripting. In the case of Azure resources, we can use the Windows PowerShell in order to deploy the ARM templates. The Azure Logic app is no exception to this. In this article, we will demonstrate the deployment of the same using Powershell. However, before that, we will use the Logic app demonstrated in this article. I implore you to go through it.
Setting up
As mentioned in the prologue, the marked article contains the following Logic App.

Fundamentally, it consists of an HTTP listener, in order to receive a request. It is followed by a Send an email action which triggers an email. Lastly, we have two HTTP responses viz. Failure Response and Success Response to handle both Failure and Success of Send an Email action respectively.
Deployment
The deployment of Logic App with Powershell script consists of the following steps:
- Export the ARM template.
- Installing Azure Rm.
- Configuring Parameter files and template files
- Configuring the deployment script
- Running the Logic App deployment.
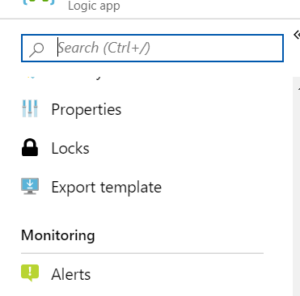
Step 1: Export the ARM template
ARM or Azure resource manager templates are JSON files, which define the structure of an Azure resource. In a Logic App, we can export the ARM template with a simple click as shown below.
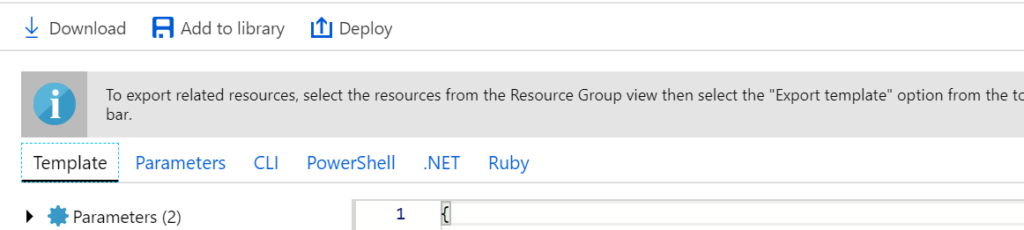
Download the ARM template to a location in your system for further deployment. Extract the files and you will see the following contents.
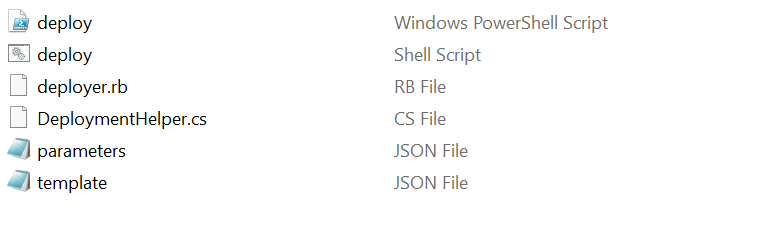
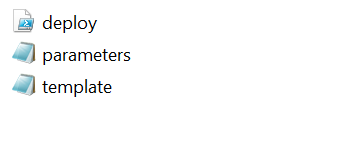
Delete the shell script, RB file and CS file, since they are irrelevant in this context. Now, your deployment folder will look like this.
Step 2: Installing Azure Rm
Before moving ahead with deployment, we need to install the Azure Rm module (also Az module) in Powershell since it will be used extensively in the deployment script. Use this command in your PowerShell window.
Install-Module -Name AzureRM -AllowClobber
Step 3: Configuring template files
Open the template file and search for ‘identity’. This signifies the uniqueness of the ARM template. Remove this section as we need to make this template reusable across environments.

Step 4: Configuring the deployment script
Next, we need to configure the deployment script. The script contains certain sections which need to be removed, while some code needs to be added.
The first section of the script consists of the input parameter declaration. We have the following parameters:
param(
[Parameter(Mandatory=$True)]
[string]
$Subscription,

[Parameter(Mandatory=$True)]
[string]
$ResourceGroupName,

[Parameter(Mandatory=$True)]
[string]
$ResourceGroupLocation,

[Parameter(Mandatory=$True)]
[string]
$TemplateFilePath,

[Parameter(Mandatory=$True)]
[string]
$logicAppName ,

[Parameter(Mandatory=$True)]
$ParametersFilePath
)
Please note that we have added a parameter named $logicAppName.The next sections consist of some boilerplate code most of which could be excluded from execution. However, before the Login section in the script, we need to set the parameter file which is used by the template during deployment. For this Logic App, the parameter file by default looks like this.
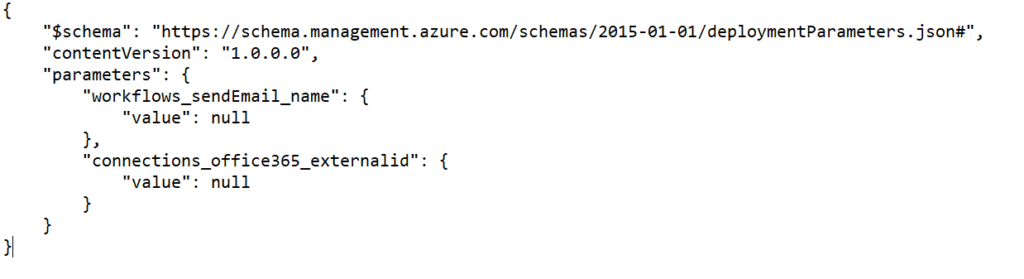
The default null values need to be set with certain values. Generally, the first parameter is to be set to the name of the Logic App to be deployed and the second one is specific to this logic app and it is of the form:
/subscriptions/{subscripionid}/resourceGroups/{resourcegroup}/providers/Microsoft.Web/connections/office365
The below code helps us set both the parameters.
$parameterjson = Get-Content $parametersFilePath | ConvertFrom-Json
$parameterjson.parameters.workflows_sendemail_name.value = $logicAppName
$parameterjson.parameters.connections_office365_externalid.value = "/subscriptions/"+$Subscription+"/resourceGroups/"+$ResourceGroupName+"/providers/Microsoft.Web/connections/office365"
$parameterjson | ConvertTo-Json | set-content $parametersFilePath
Step 5: Running the Logic App deployment
Finally, run the deployment script. It will ask for parameters. Fill in those parameters and login to complete the deployment.

Conclusion
We hope that you find this article useful. However, we encourage you to try it out. Please note that this article is for information purposes only and we do not make any warranties.